1. Java 설치 ( 17 )
https://www.oracle.com/java/technologies/downloads/#java17
Download the Latest Java LTS Free
Subscribe to Java SE and get the most comprehensive Java support available, with 24/7 global access to the experts.
www.oracle.com
2. IDE 설치 ( vscode )
https://code.visualstudio.com/download
Download Visual Studio Code - Mac, Linux, Windows
Visual Studio Code is free and available on your favorite platform - Linux, macOS, and Windows. Download Visual Studio Code to experience a redefined code editor, optimized for building and debugging modern web and cloud applications.
code.visualstudio.com
3. Spring Boot 사용을 위한 vscode extension 설치
- Extension Pack for Java
- Spring Boot Extension Pack
- Lombok Annotations Support for VS Code
- Spring Initializr Java Support


4. Spring Boot 빌드
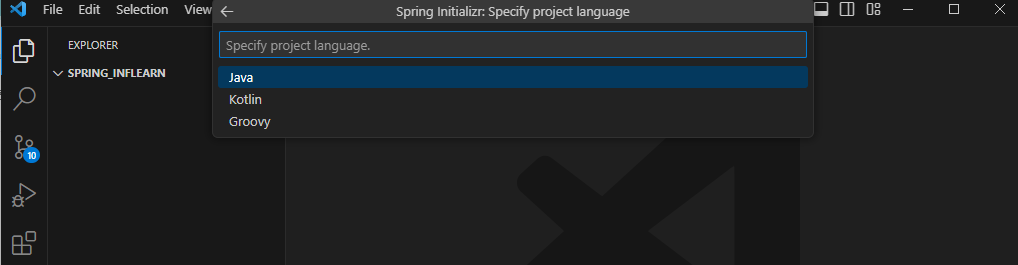
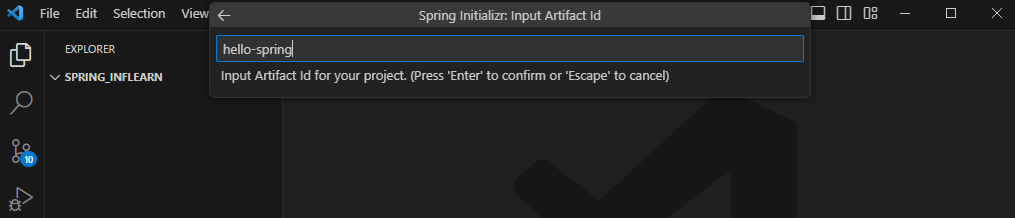
- F1 키를 눌러 Spring Initializr : Create a Grade Project... 를 실행한 후 다음과 같이 버전 세팅을 한다.

- Spring boot 버전 선택

- 개발 언어 선택
- 패키지 명 (보통 자신의 기업명으로 작성)

- 프로젝트 명 (완성한 후 나타나게 될 이름 작성)
- 빌드 파일 형식 선택

- Java 버전 선택

- Spring boot 에서 사용할 의존성 패키지 추가 (나는 Spring Web + Thymleaf 선택)


- 빌드 시작

5. Application 파일 실행 시키기
- ~/src/main/java/패키지명/프로젝트명/프로젝트명Application.java 파일에서 Ctrl + F5 클릭해 프로젝트 실행

위와 같이 터미널에 잘 나온다면 다음 경로로 브라우저를 열어보자
http://localhost:8080/ 다음과 같이 나오면 성공


728x90
'Programming > Spring Boot' 카테고리의 다른 글
| [Spring Boot] MVC 패턴 (vscode) (0) | 2024.03.07 |
|---|---|
| [Spring Boot] 정적 컨텐츠 만들기 (vscode) (0) | 2024.03.07 |
| [Spring Boot] 빌드 / 실행시키기 (vscode) (0) | 2024.03.07 |
| [Spring Boot] View 환경설정 (vscode) (0) | 2024.03.07 |


